


If you’d like to change Google Sheets’ default border around cells to something else, it’s easy to do that. You can choose a custom color for your borders and then display or print your spreadsheets with those colors. Here’s how.
Sheets offers multiple colors to choose from for your borders. If you don’t find the color you want on this list, enter your favorite color’s HEX code or choose it on a color wheel in your spreadsheet.
Note that this guide shows how to change your cells’ border color. This doesn’t change the gridline color in your spreadsheets. Those lines always use black as their color and you can’t change that. However, you can apply a border style to your entire spreadsheet and then use a custom border color to replace the gridlines with your favorite color.
Use a Custom Color for Cell Borders in Google Sheets
To customize your cell border color, first, launch your spreadsheet with Google Sheets.
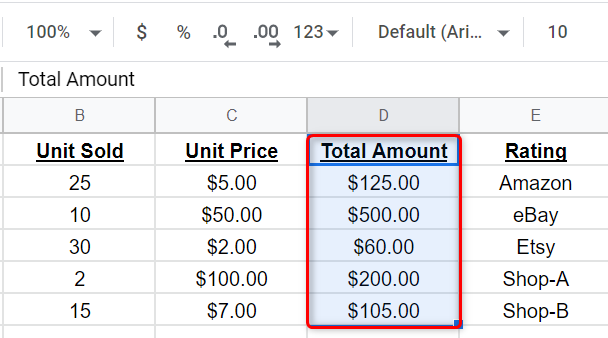
In your spreadsheet, select the cells to which you want to apply a custom border color.

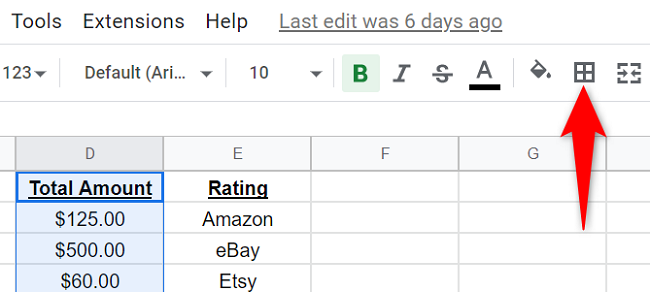
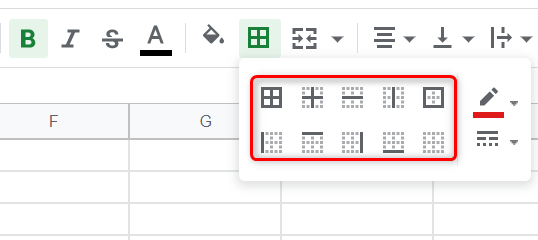
While your cells are highlighted, in Google Sheets’ toolbar at the top, click the “Borders” option (an icon of a square with four squares in it).

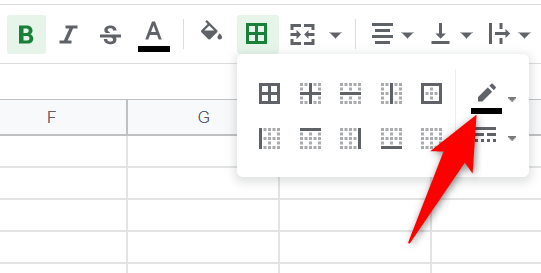
In the menu that opens, click “Border Color.”

You’ll see a color picker letting you choose a new color for your cell borders. Select a color here and it will be used for your cells.
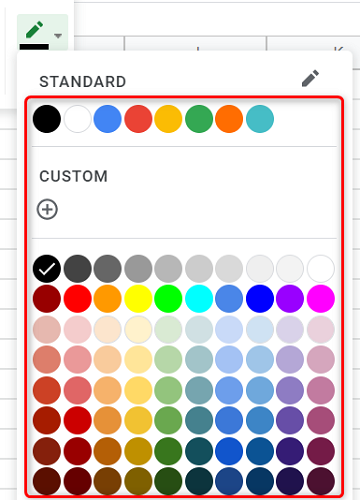

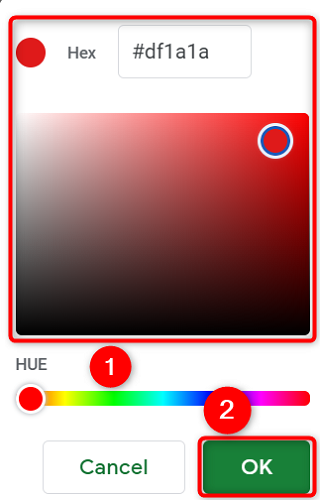
If your color is not listed on the menu, then beneath “Custom,” click the “+” (plus) sign. Enter your color’s HEX code or use the color picker to choose your favorite color. Then click “OK.”

Your selected color is now applied to your cells’ borders. If you don’t see that, you probably haven’t applied a border style to your cells.
To fix that, while your cells are still selected, click the “Borders” option in the toolbar and choose a border style.

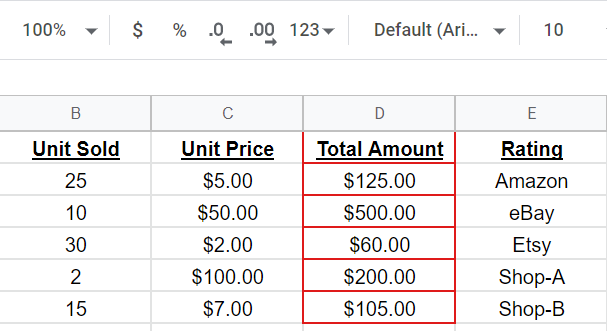
Your chosen cells now have your favorite border color applied to them.

And that’s all there is to it. Enjoy highlighting your important cells with your preferred colors!

