


Protecting individual cells in Google Sheets is a great way to prevent data in your spreadsheet from getting changed—accidentally or intentionally—by anyone viewing the sheet. Fortunately, Sheets provides a handy tool to prevents people from altering cells in your document.
Protecting Cells in Google Sheets
One of the best features of Google Sheets (and all the other Google apps) is the ability for anyone with edit access to collaborate on documents in the cloud. However, sometimes you don’t want the people you’re sharing a document with to edit specific cells in your sheet without completely revoking their ability to edit. This where protecting specific cells comes in handy.
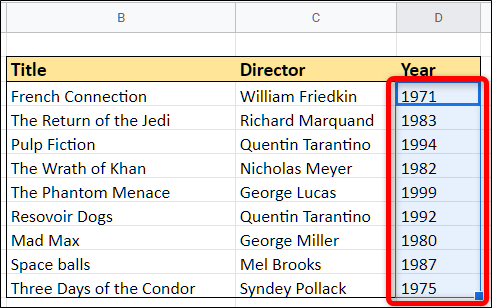
Fire up your browser, open a Google Sheet that has cells you want to protect, and then select the cells.

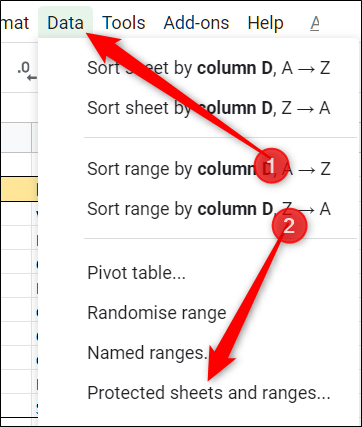
With the cells selected, open the “Data” menu and then click “Protect Sheets and Ranges.”

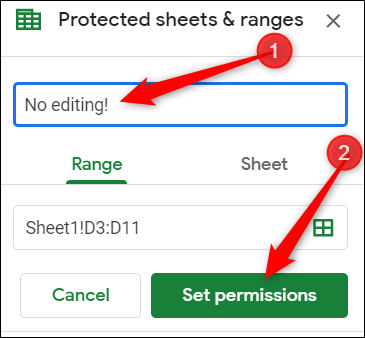
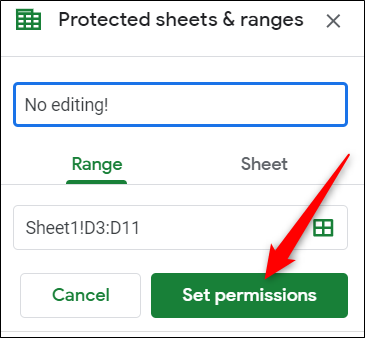
The Protected Sheets and Ranges pane appears on the right. Here, you can enter a brief description and then click “Set Permissions” to customize the cell’s protection permissions.

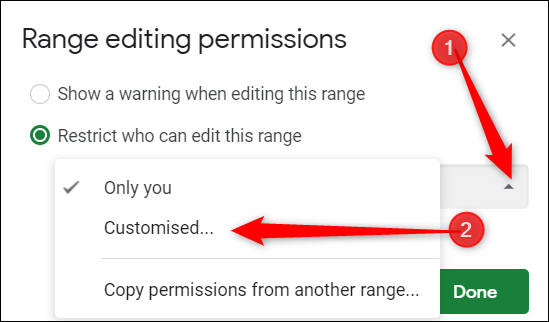
By default, anyone who already has permission to edit the document is allowed to edit every cell on the page. Click the drop-down menu under “Restrict Who Can Edit This Range” and then click “Customized” to set who is permitted to edit the selected cells.

Under the list of people who can edit, everyone with whom you’ve shared edit permissions is already selected by default. Deselect anyone you don’t want to be able to edit the selected cells and then click “Done.”
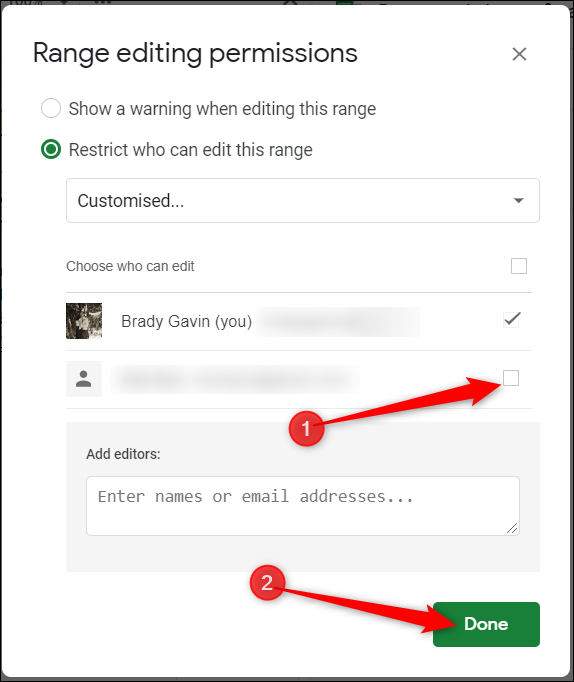

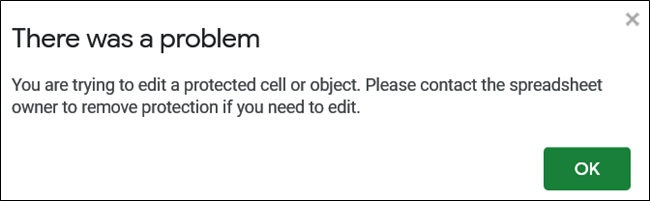
Now, anytime someone without permission to edit these cells attempts to make any changes, a prompt with the following message in Sheets comes up:

How to Show a Warning Message When Editing Cells
If you’d rather people still be able to edit the cells, but instead have a warning message for anyone who tries to edit specific cells, you can do that as well.
From your Sheets document, head back to Data> Protected Sheets and Ranges in the toolbar.
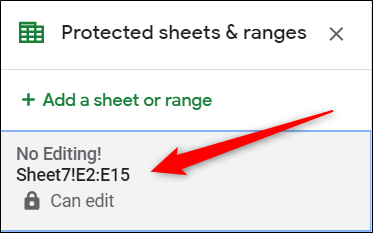
Next, click the permission rule you want to alter.

Click “Set Permissions.”
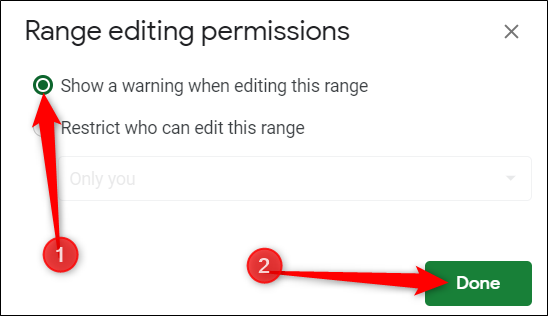
Select “Show a warning when editing this range” and then click “Done.”

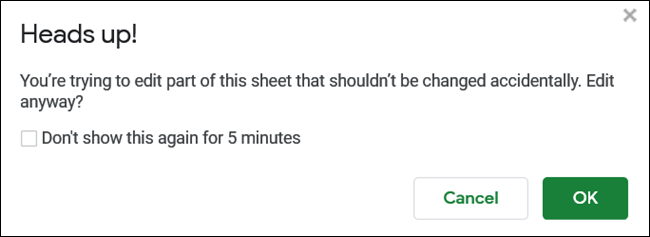
The next time anyone tries to edit any of the protected cells, they’re prompted with this message instead:

Protecting an Entire Sheet in Google Sheets
If you want to protect a whole sheet so that nobody except you can edit it, the easiest way is to share the sheet with them but only give them view instead of edit permission.
However, say you wanted to protect most of a sheet, but leave a few cells open to editing— as you’d do with a form or invoice. In that case, people would still need edit permission, but it would be kind of a pain to select all the cells on the sheet except for the few on which you want to allow editing.
There is another way. You can protect the entire sheet and then allow access to specific cells.
Open up your document and head back to Data> Protected Sheets and Ranges in the toolbar.
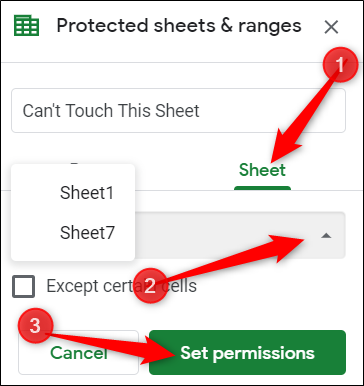
From the Protected Sheets and Ranges pane that appears on the right, click “Sheet,” choose a sheet from the drop-down menu, then click “Set Permissions.”

And, just like in the previous example for protecting cells, you will have to set who can edit the sheet in the window that opens up.
Click the drop-down menu under “Restrict Who Can Edit This Range,” and select “Customized” to set who is permitted to edit the selected sheet.
Under the list of people who can edit, deselect anyone for whom you want to revoke edit permissions of this sheet and then click “Done.”
Anyone with access to your document can still open and see the contents of the sheet you’ve protected, but they aren’t able to make any changes or edits to the actual sheet.
How to Add Exceptions to a Protected Sheet
When protecting a whole sheet, Google Sheets locks every single cell. But if you want to grant edit access to only a few cells, you can specify which ones are editable.
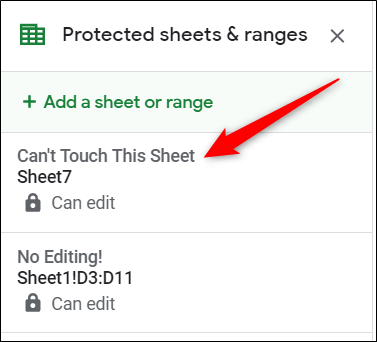
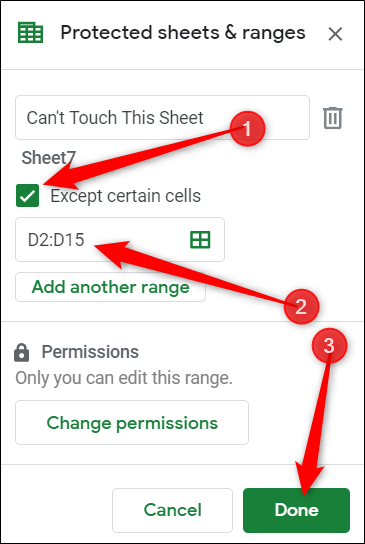
Jump back to Data> Protected Sheets and Ranges from the toolbar, then from the pane that opens, click on the protected sheet rule you want to edit.

Next, toggle “Except Certain Cells” and then enter the range of cells you want to be editable. Click “Done.”

Finally, if anyone tries to edit any other cells than the ones you’ve made editable, they’ll see the same prompt as before, notifying them they can’t do that.
How to Remove Permission Rules
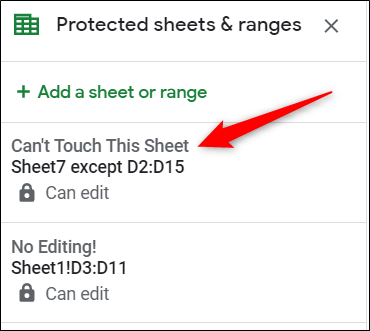
To remove any of the permission rules you just made, open up the Protected Sheets and Ranges pane by going to Data> Protected Sheets and Ranges. Once here, click the rule you want to delete.

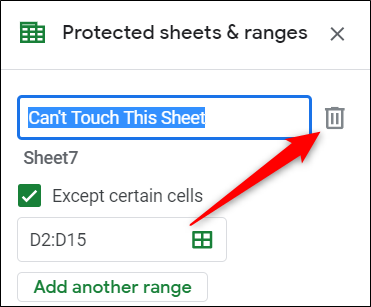
Next, click the trash bin, located next to the description of the rule.

You’ll be prompted to confirm that you want to remove the protected range or not. Click “Remove.”
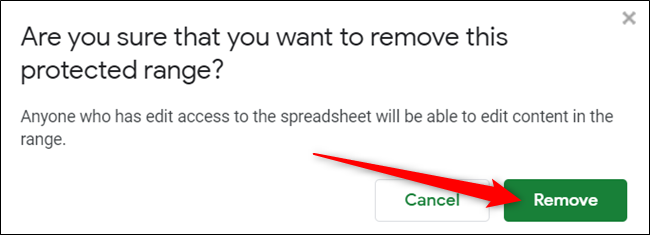

After removing the protected range, anyone who had edit access to your spreadsheet will be able to edit the content in the cells/sheets that were previously protected.

